Installation
Table of contents
Warning
Before getting started with TaskFalcon, please check if TaskFalcon is the right tool for you:
Installing and using TaskFalcon requires a basic technical understanding in the following areas:
-
Editing text files
TaskFalconis usingYAMLfiles for the task definition.YAMLis very easy to learn, but if you don’t know how to edit text files, thenTaskFalconis not the right tool for you. -
Using the command line
TaskFalconis a command line tool, which will require you to use the command line to schedule your project.If you don’t know what this means, then
TaskFalconis not the right tool for you. (If you’re using the TaskFalcon Extension for Visual Studio, this does not affect you).
If this didn’t scare you off, please follow the next steps:
Visual Studio Code Extension
Starting with TaskFalcon 0.9.9, you can use TaskFalcon via a Visual Studio Code extension.
This has a couple of advantages:
- Syntax checking:
Visual Studio Code will highlight errors in your project file while you’re editing the file - Automatic rendering:
TaskFalcon will re-schedule your project automatically as soon as you save your project file - Basic UI for common TaskFalcon options:
Some of the common TaskFalcon command line options can be enabled via a simplified user interface - Simplified Installation:
No fiddling with downloads, un-zipping or path configuration. Just click “Install” and you’re ready to go
Using the TaskFalcon extension for Visual Studio Code requires a working installation of Visual Studio Code. Follow the instructions on the Visual Studio Code download page.
In Visual Studio Code, open the Extensions activity (on the left icon bar) and search for TaskFalcon.
Select the TaskFalcon extension and click on Install.
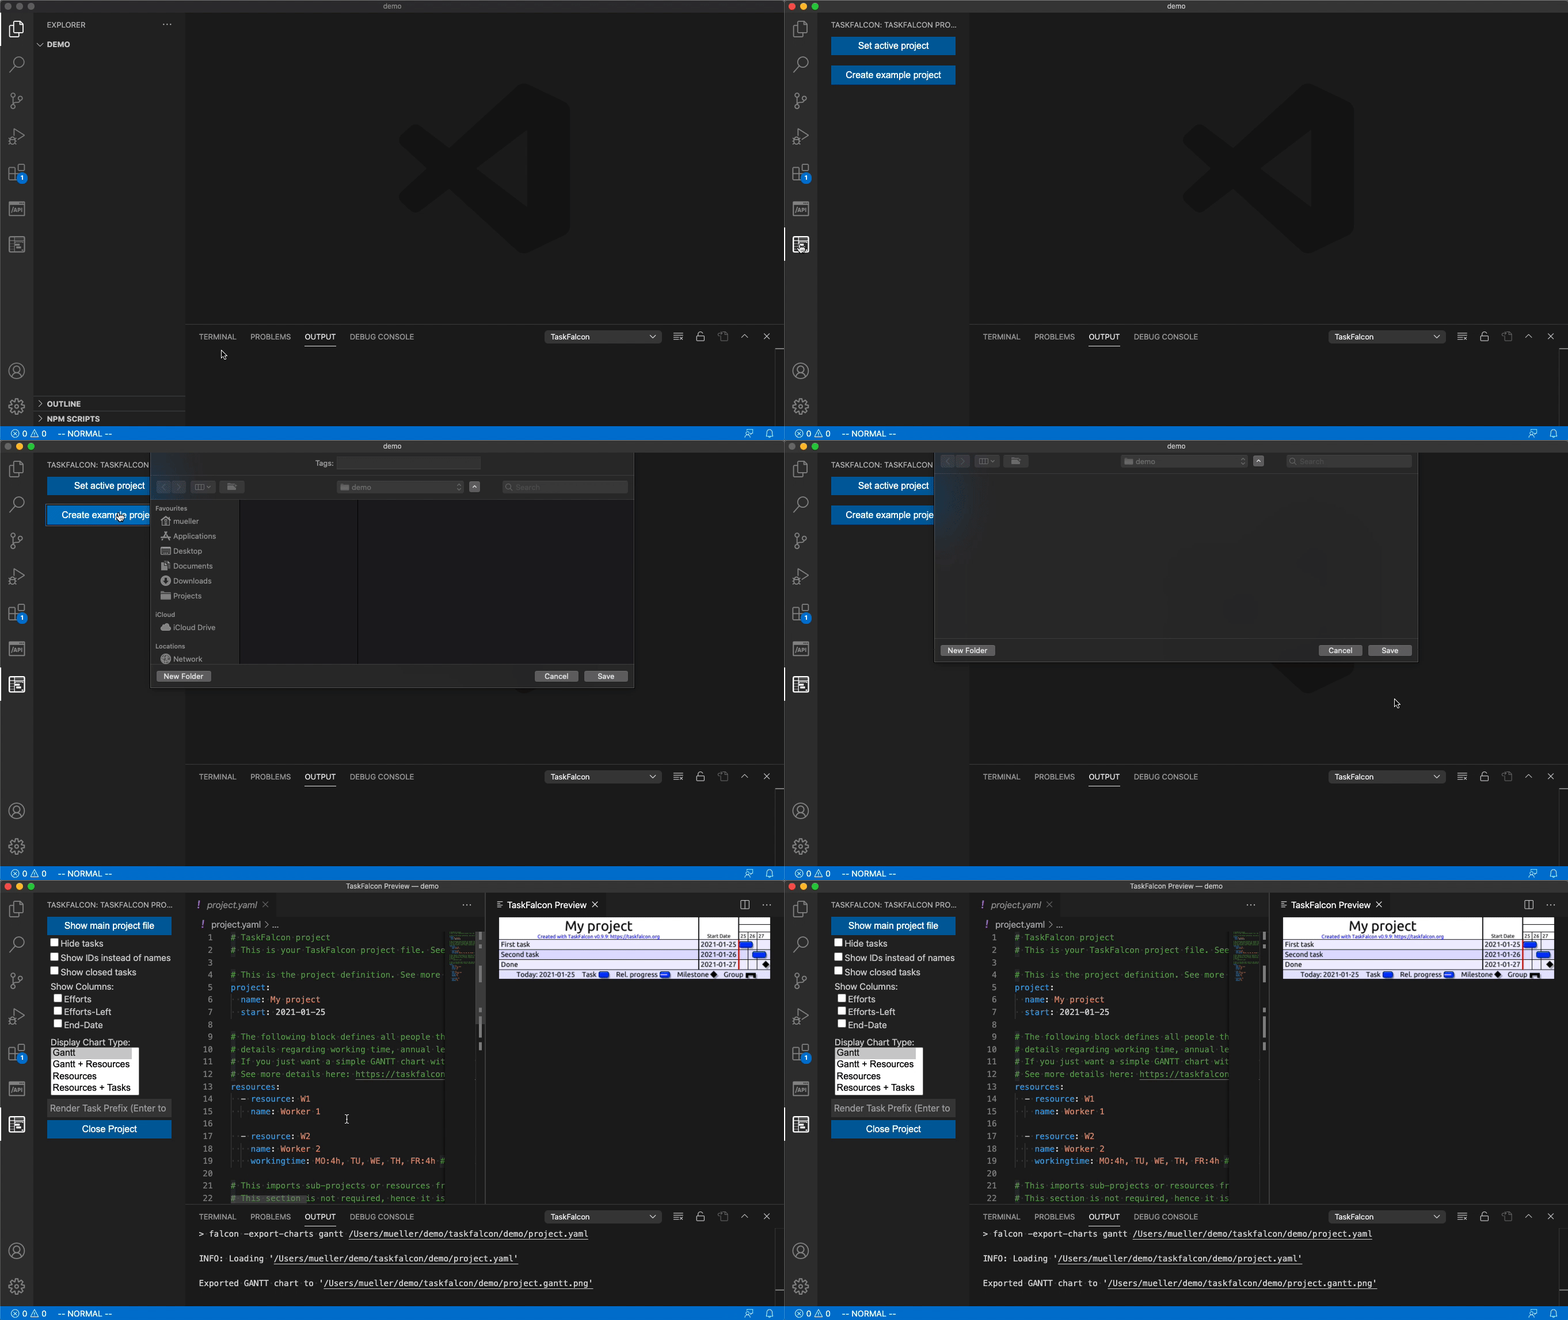
To activate the extension, you need to click on the new TaskFalcon icon down on the activity bar. Then you need to open your TaskFalcon project file and click on Set active project.

Manual installation
Step 1: Download
Download the TaskFalcon binary from the download page.
Step 2: Install
Currently, there is no installer provided with TaskFalcon. Just unzip the downloaded file and you’re good to go.
Step 3: Add TaskFalcon to your path (optional but strongly recommended)
Since TaskFalcon is a command line utility, you might want to put it in your path, so you don’t have to type the whole path to the TaskFalcon executable every time you want to run TaskFalcon.
Step 4: Go through the “Getting Started” documentation
Start with My First Project